Showing posts with label fashion. Show all posts

Wednesday, May 24, 2017

Mommy and Me skirts for Mother's Day

Hello there!  I wanted to pop in with a quick post about the Mommy & Me skirts I just made for Mother's Day!  This is a great sewing project for someone with beginner-level skills or someone looking for an adorable end product without spending a ton of time!  It's all straight lines!

Mommy and Me gathered skirts | bonnieprojects.blogspot.com


I used this blog for the pattern, and it was so easy to follow!  The only change I made was to include more fabric in the hem, giving me the option to lengthen the skirt as my daughter grows.  My other suggestion is to only multiply the waist measurement by 1.25x - 1.5x for an adult skirt, as mine came out very full.  For my daughter I used the full 45" fabric width, which was a little more than 2x her waist.

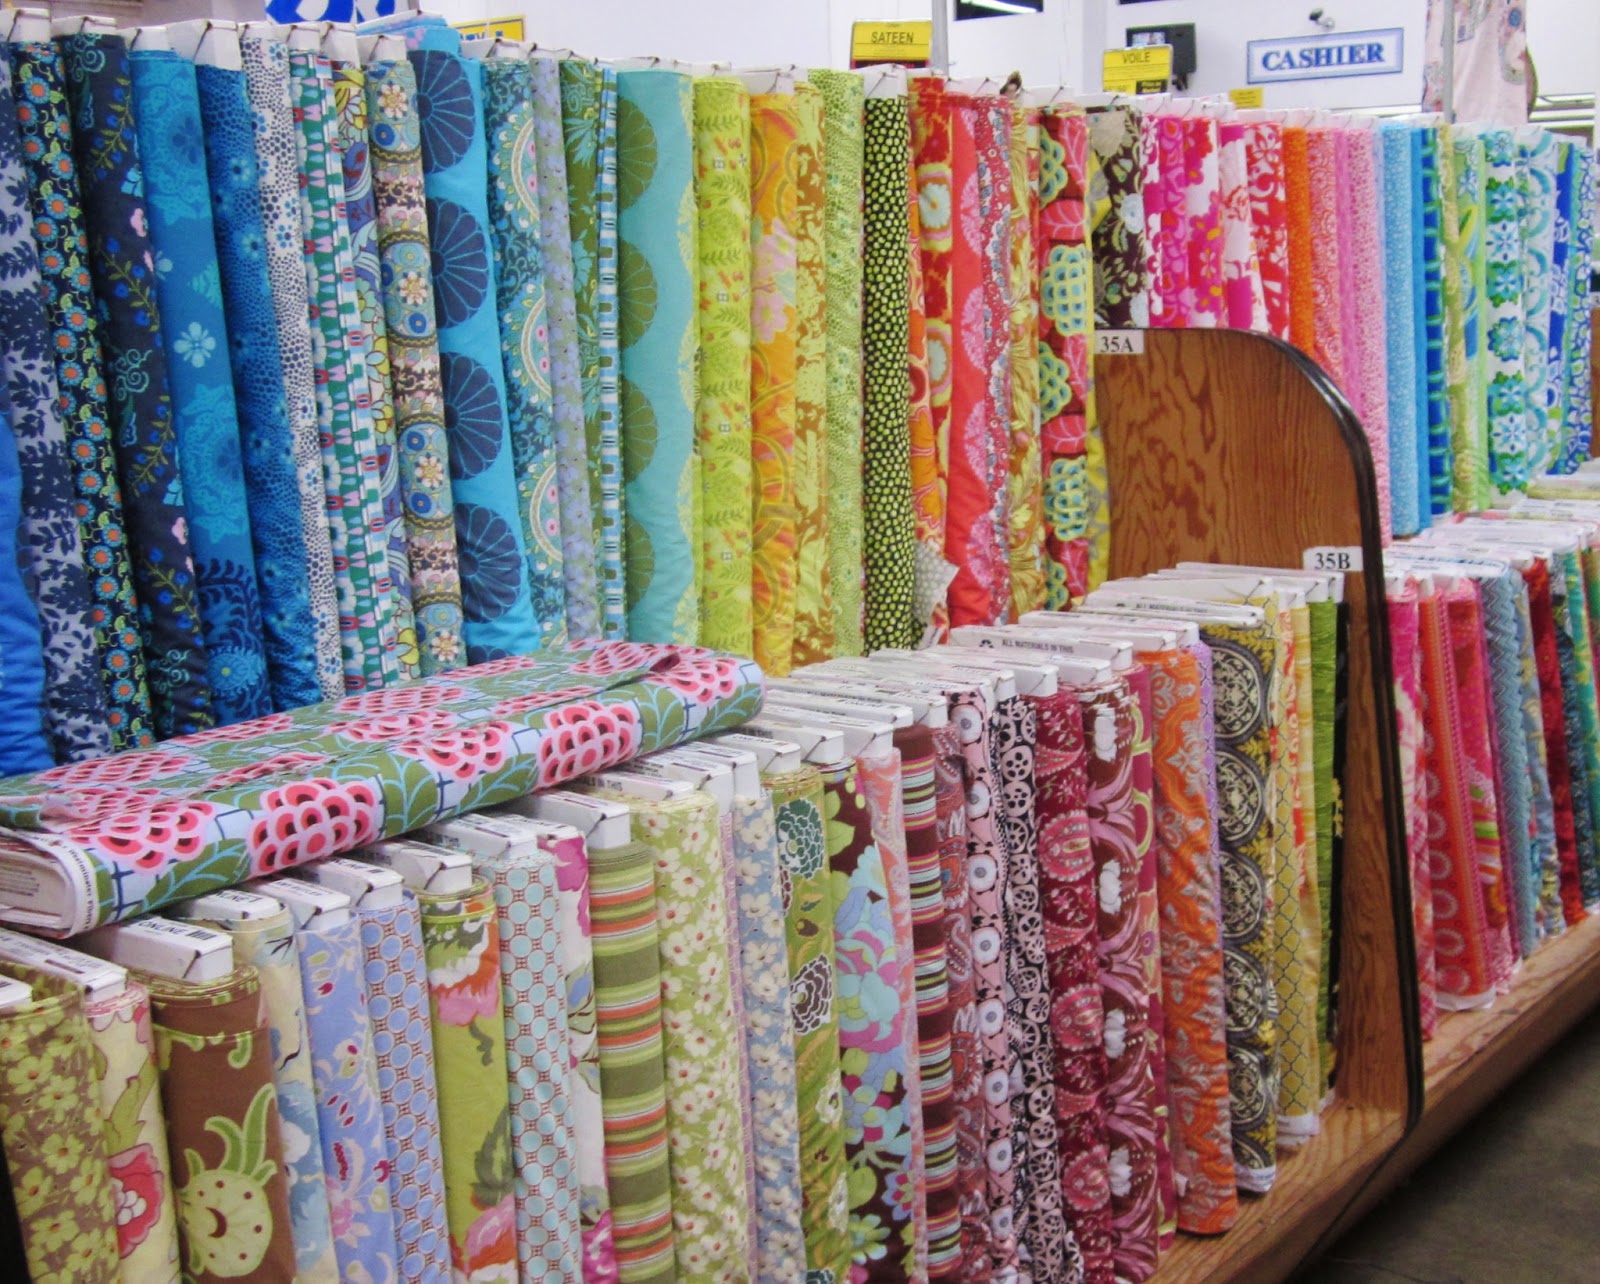
The fabric is Paparounes in Crimson, and I bought it at Bobbie Lou's Fabric Factory.  I love her curated collection of quilting fabrics!!!  I just bought mermaid fabric (Mermaid Magic in Mist Metallic) to make another skirt like this for my daughter's birthday.

Photos are taken at the Capitol Riverfront in Washington, DC.  If you're local or visiting I highly suggest making some time to play and walk around this park.


Tuesday, February 4, 2014

How to Make an Infinity Scarf {Easy Tutorial}

Our house ate my scarves.  We boxed most of them up last spring, and now I can't find them anywhere!  I'd really been counting on cute scarves to make my maternity outfits fashionable, so it was time to get creative!

How to Make an Infinity Scarf | bonnieprojects.blogspot.com

It turns out that infinity scarves are SO EASY!  (sew easy?  har har)

All you need is half a yard of fabric.  I used 60" wide knit for both of mine.  I also made sure to use a stretch needle in my sewing machine.

How to Make an Infinity Scarf | bonnieprojects.blogspot.com

If you're working with stripes, cut any jaggedy edges off, and make sure the same color stripe is on each side (assuming you have wide stripes).

How to Make an Infinity Scarf | bonnieprojects.blogspot.com

For any other solids or non-stripe prints, just make sure the edges are relatively straight.

I also cut off the selvage on each end because it was wide and ugly on my fabrics.

Fold your fabric, right sides together, so that it's really long and only 1/4 yard wide.  Pin the long sides together to make sure one doesn't get ahead of the other one when you sew.

How to Make an Infinity Scarf | bonnieprojects.blogspot.com

Sew along the long edge with a deep 3/4" seam.  I don't trust knits not to ravel, which is why I take a deep seam.

Next, turn the tube right side out.

Here comes the tricky part...

Wrap your tube around your neck (or a hanger, or your dog) twice, and pin the ends together at that seam you just sewed.  When you remove it, it'll be a big loop with a twist in it.  This twist magically disappears when you loop the scarf twice around your neck, and makes the whole thing lay pretty.  This is optional, but I prefer the look.

Put the ends of the tube right side together, lining up the long seam.  Yes, this looks weird.  Put a pin in it.  A few inches away, continue to match right sides together, and pin some more.  Do this as much as you can, but there will probably be about 1/4 of the tube you won't be able to pin.  It's OK.

Sew a deep 3/4" seam along where you put all those pins, making sure to back stitch at the ends.

When you take it all out of the machine, you should see that most of your tube is sewed up pretty, with the raw edges on the inside of the scarf.

To close up the hole, fold the edges under, match them up, and stitch really close to the edge.  This finishes the scarf!  You could also hand-sew those final few inches.

How to Make an Infinity Scarf | bonnieprojects.blogspot.com

Ta da, you're done!

How to Make an Infinity Scarf | bonnieprojects.blogspot.com

How to Make an Infinity Scarf | bonnieprojects.blogspot.com

How to Make an Infinity Scarf | bonnieprojects.blogspot.com

My scarves cost about $3 each, since I only used half a yard of inexpensive fabric, and took less than 15 minutes each to make.  Fast, cheap, and easy - can't beat that.  Oh yeah, and cute!!!


You might also be interested in these posts:

Make a cover for your dress form
Failed t-shirt scarf


Thursday, May 9, 2013

Wedding in Review: All the Projects

To wrap up the Wedding Wednesdays, I wanted to provide a wrap-up post of all the projects!  I hope they've inspired you to DIY a few elements of your own wedding, whether it be to personalize, save money, or just to have something to do with friends!

PS: Friends, I still have most of this stuff, so if you'd like to borrow it for your own wedding, just ask!


The DRESS - designed by us and handmade by my Mom

My dress was a hand-beaded, Chantilly lace fit-and-flare gown with a strapless sweetheart neckline and rows and rows of flounces.  It also featured a button-off removable train and beaded belt.


Mismatched Bridesmaid Dresses
Personalized Bridesmaid Robes
Personalized Jewelry for Bridesmaids and Flower Girls
Flower Girl Dresses


American Girl Dresses to Match the Flower Girls
Flower Girl Baskets
Ring Bearer Pillow (made from leftover dress fabric)
Invitation Suite
Thank You Notes
RSVP Map

Will You Be My Bridesmaid Paper Doll Cards

Wreaths for the Chapel
Hydrangea Bouquets
Peony Bouquet and Ranunculus Boutonnieres
Ribbon Wands
Pennants
Pennant Cake Topper
Chair Ribbons
Ribbon Table Runners
Coastal Centerpieces Made From Lantern, Chrome Shells, and Coral
Chrome Coral Table Number Holders
Name Buttons
Photo Guest Book 
Cloth Napkins for Favors
Save-A-Guest Kit
Dancing Shoes


Tuesday, April 2, 2013

Bridesmaid Dress Refashion


Not only did I get to play florist for my sister-in-law's wedding, I also got to be a bridesmaid!  I was honored to stand by her side on such a special day.  It was also fun walking down the aisle with my husband again!

Second time down the aisle in 2012!
She was gracious in her selection of bridesmaid dresses (Watters Camellia Style 2255).  Navy looked great on all of us, and it doesn't scream BRIDESMAID like some colors can.  Rather than taffeta or chiffon which are very bridesmaidy fabrics, it was made from a pretty lace.  The open-back detailing was gorgeous!

I'm on the left!
That said, above-the-knee hemlines don't jive my with those American thighs I inherited.  Also, flared skirts don't do good things to people who are petite and short-waisted.  So while the dress had a lot going for it, I knew a few post-wedding changes would make it amazing.

My Mom did the original alterations for me.  She confided in me that this dress required more difficult alterations than any dress she's ever done.  Coming from a seamstress who has been doing weddings and costumes for 30-something years, that is a serious comment.  Watters, you need to work on your patterns!!!  Those dresses are only gorgeous if they can be altered properly.

The alterations issues were mostly due to two things.  First, in some seams, the lining and lace were sewn together, but in other seams they weren't.  So you couldn't just separate the dress into lining and lace, the whole thing had to be dismantled.  Second, the lace had some "give" to it but the lining did not, so you couldn't just take up two inches of both - more of the lace had to be taken in.

But my Mom is pretty much amazing, and she altered the crap out of the dress.  It fit like a glove on wedding day!


When she hemmed the skirt to match the other girls, rather than cutting inches off the bottom (which would have ruined the scalloped hem), she took the inches off the top.  She left the extra material inside the dress, with the knowledge we'd be lengthening the skirt at some point.

To re-alter the dress, she started by removing the skirt and all the tucks included in it.  She then laid a pattern for a longer, fitted skirt on top, and cut the new pieces.  She sewed everything back together, and ta da!  Awesome dress I can wear all the time.


I wore the dress last week when I took Tommy out for his birthday.  I love that it's fancy, but not formal, so I can wear it to dates, weddings, or fancy-pants events like the symphony.

Thanks to my sister-in-law for her thoughtful decisions.  And thanks to my Mom for her amazing work!  I love it!


Monday, March 18, 2013

Field Trip: Los Angeles Fashion District

Man oh man, you want to see a kid in a candy shop?  Just put two crafters in the Los Angeles Fashion District!!!  My Mom and I were giddy!

Mom had been there a number of times, but this was my first trip.  First stop: Micheal Levine's!


Imagine a fabric shop the size of WalMart, and you'll get Michael Levines.  They have every kind of fabric imaginable, and I'd never seen anything like it in Hancock's or JoAnn's.

I especially loved their cotton knits, and got yardage from several different prints for a few upcoming projects.

I also found adorable quilters cottons for a baby quilt I'm making soon!

huge batik section

a whole row of polka dots!


From there, we wandered in and out of stores, looking at everything.  I don't have any specific projects coming up (besides the baby quilt), so I was mostly just looking at everything.

Fabric stores are just the beginning.  There are also stores that only sell ribbon, or bridal stuff, or beads.  We went in one bead store the size of my local grocery store, where every vertical inch of the place was covered in beads.  Talk about sensory overload!


I bought a few strands of beads with some upcoming projects in mind...


All that oohing and aahing over stuff made us hungry, so we dined in the International Food Court.  Chicken Shawarma, yum!!!


If I ever get really into making clothing or crazy fabric crafts, I know where I'm taking my pilgrimages.  The LA Fashion District was beyond cool.


Follow my blog with Bloglovin