It's finally done!!! Back in August we started working on the dining room, and now I can finally say it's complete :)
Remember how it started off? Dark, dated, and messy. We had already updated the chandelier from the brass one left by the previous homeowners, but the paint wasn't meshing with our other rooms, there was nowhere to put stuff, and the space simply didn't have personality.
I'll give you the rest of the tour, then explain how we got from A to B!
We were so lost with how to approach this room that we hired Jackie of
Teal & Lime Interiors to make a mood board and source list for us to get us started. She gave us lots of inspiration and some great ideas. This room wouldn't be like it is without her help.
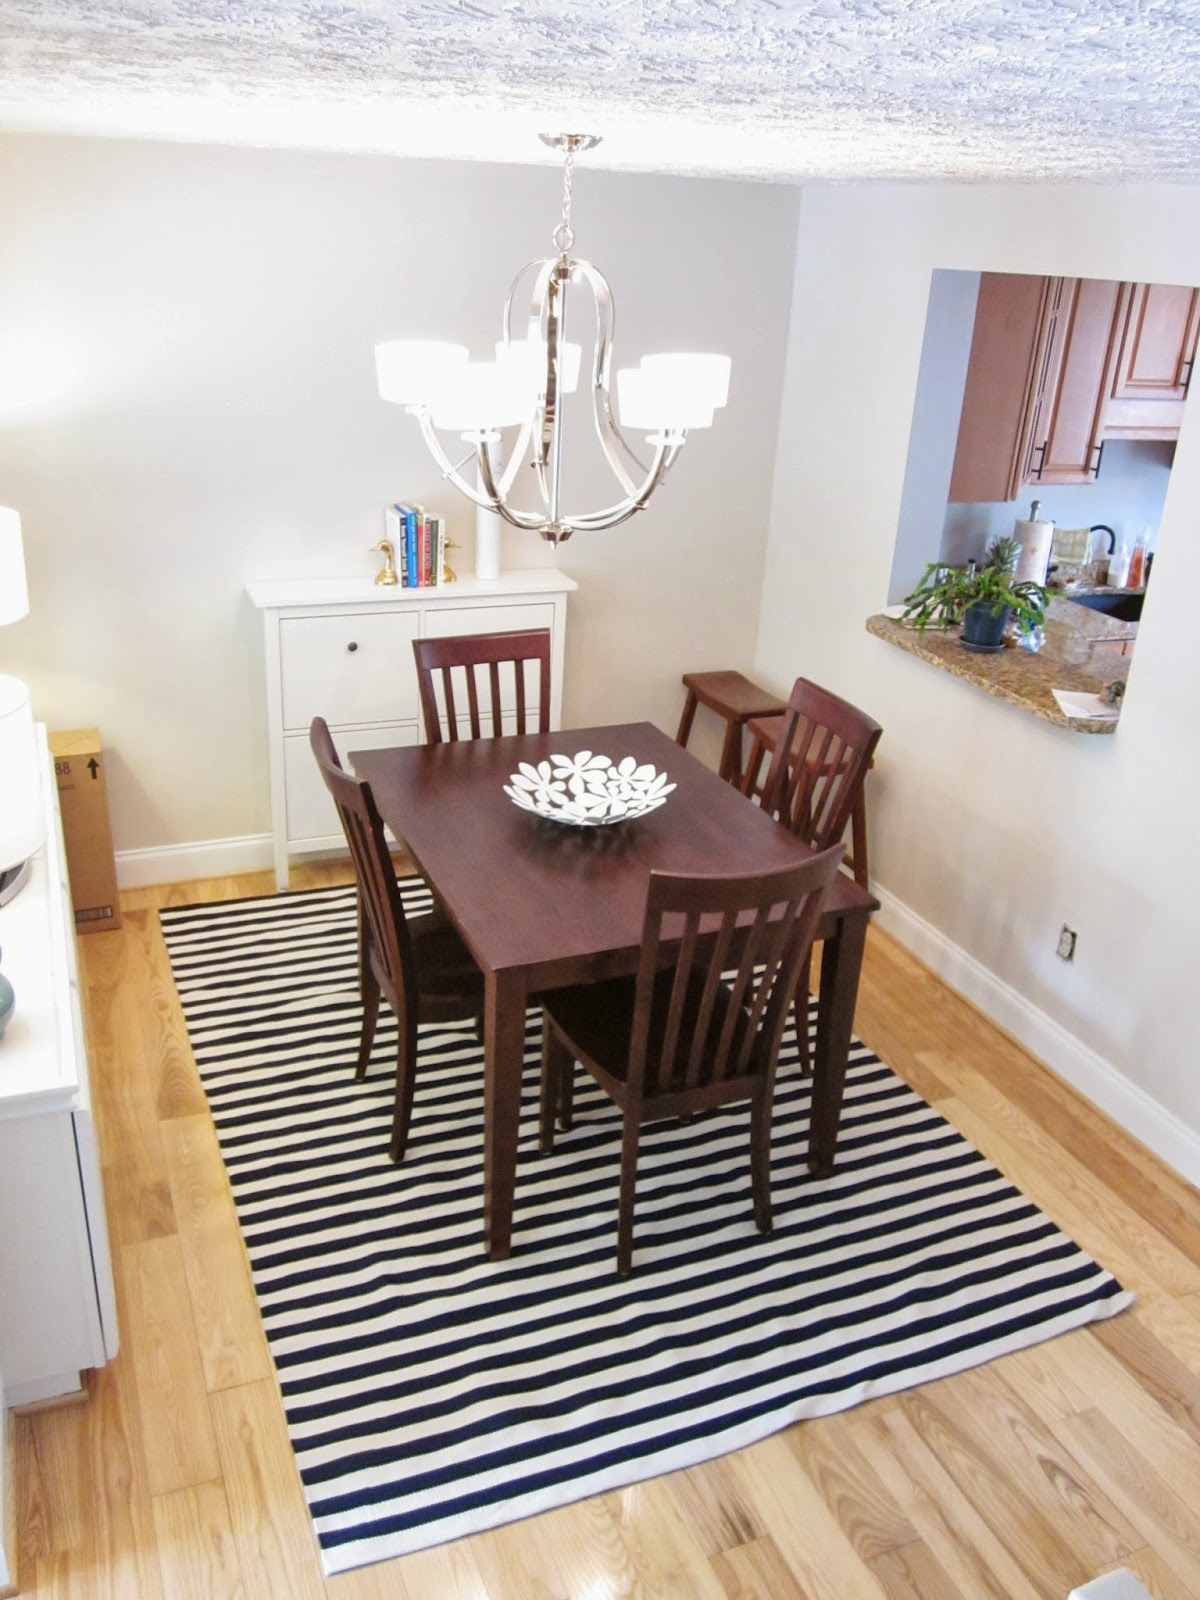
I painted the walls a cool neutral called Kestrel White. It's more interesting than flat white, and meshes really well with the other colors on this level. I also gave the baseboards a fresh coat of white paint.
Next I painted the built-in cabinets white. I was worried the tile on top would clash, but it actually looks pretty good!
With Jackie's suggestions, I bought a small "buffet" to hold laptops, magazines, and the other stuff that was littering the dining room. I also got those great lamps (so affordable!), the round mirror, the brass duck bookends, and the striped rug from her source list. The rug was too long, so I came up with an
easy way to shorten it.
I found the low-profile wine rack while shopping in Capitol Hill. It holds the bottles sideways, so it hardly takes up any room at all.
We brought our family to dinner by getting a large print framed - it's a photo of both our extended families, taken a few days before our wedding. Everyone is wearing coral and navy, and this was the inspiration for the room.
To complete the look, I made a reversible table runner for the dining table. Check back later this week for the tutorial!
We are so happy with how this room turned out! It's light, bright, and offers the functionality we needed. It goes great with the adjacent kitchen and living room, and finally feels like "us".
You might also be interested in these posts:
We hired a designer
Painting the dining room
Painting the built-ins
A shoe cabinet as a buffet
How to shorten a flat-weave rug
How to make a reversible table runner (coming soon!)


