Monday, April 15, 2013

Put a Swing on it

Our bottom deck has been looking sad ever since we moved in.  There's just not much to draw you down there - no pretty plants, nothing to do, just blah.

About a billion years ago I got a porch swing for a rental house I shared in college.  Once I moved out, the swing went into storage on our family farm.  I rediscovered it over Thanksgiving and stuffed in into the car on the drive home!

And then it sat on the deck through the winter.

Saturday we had the prettiest day I think we've had in five months, so we took advantage and did a few outdoor projects, including the swing!

What started as a simple project quickly took a turn to difficult.

The swing was a different width than the deck joists, so we couldn't just attached eye bolts and call it a day.  Instead, we cut 2x10's down to size and secured them three screws on each side as well as two metal plates.  The joists weren't plumb, so the cuts ended up being tricky.  We secured the new pieces to the deck with three screws on each side, as well as these metal thingos called strong-ties.  Let's just say that if something about this set-up collapses, this won't be it.


Next, the eye bolts were too fat for the chain or the carabiners we bought, so we ended up using two sizes of carabiners to attach everything.

We tried the swing at several heights, finally choosing one about 17" off the ground.  We also messed around with the tilt of the swing - you want it comfy but not so far back you feel like you'll fall out.


Finally, it was perfect!  Lucky jumped right up, and the whole family enjoyed the swing for an hour watching the sun set.  We're loving the bottom deck now, and the swing makes it more of a destination.  We just had to put a swing on it! 


Also, I'm thinking about painting it.  What do you think?  Yellow?  Turquoise?  Vintage green?  Or should I just stain it?  Here's some inspiration I found on pinterest:

via
via
via

Friday, April 12, 2013

Refinishing wood patio furniture

Spring is here!!!  We've been spending blissful hours outdoors now that it's not winter here anymore.  A lovely few days in the 80's have kick-started spring, and the yard is looking amazing!

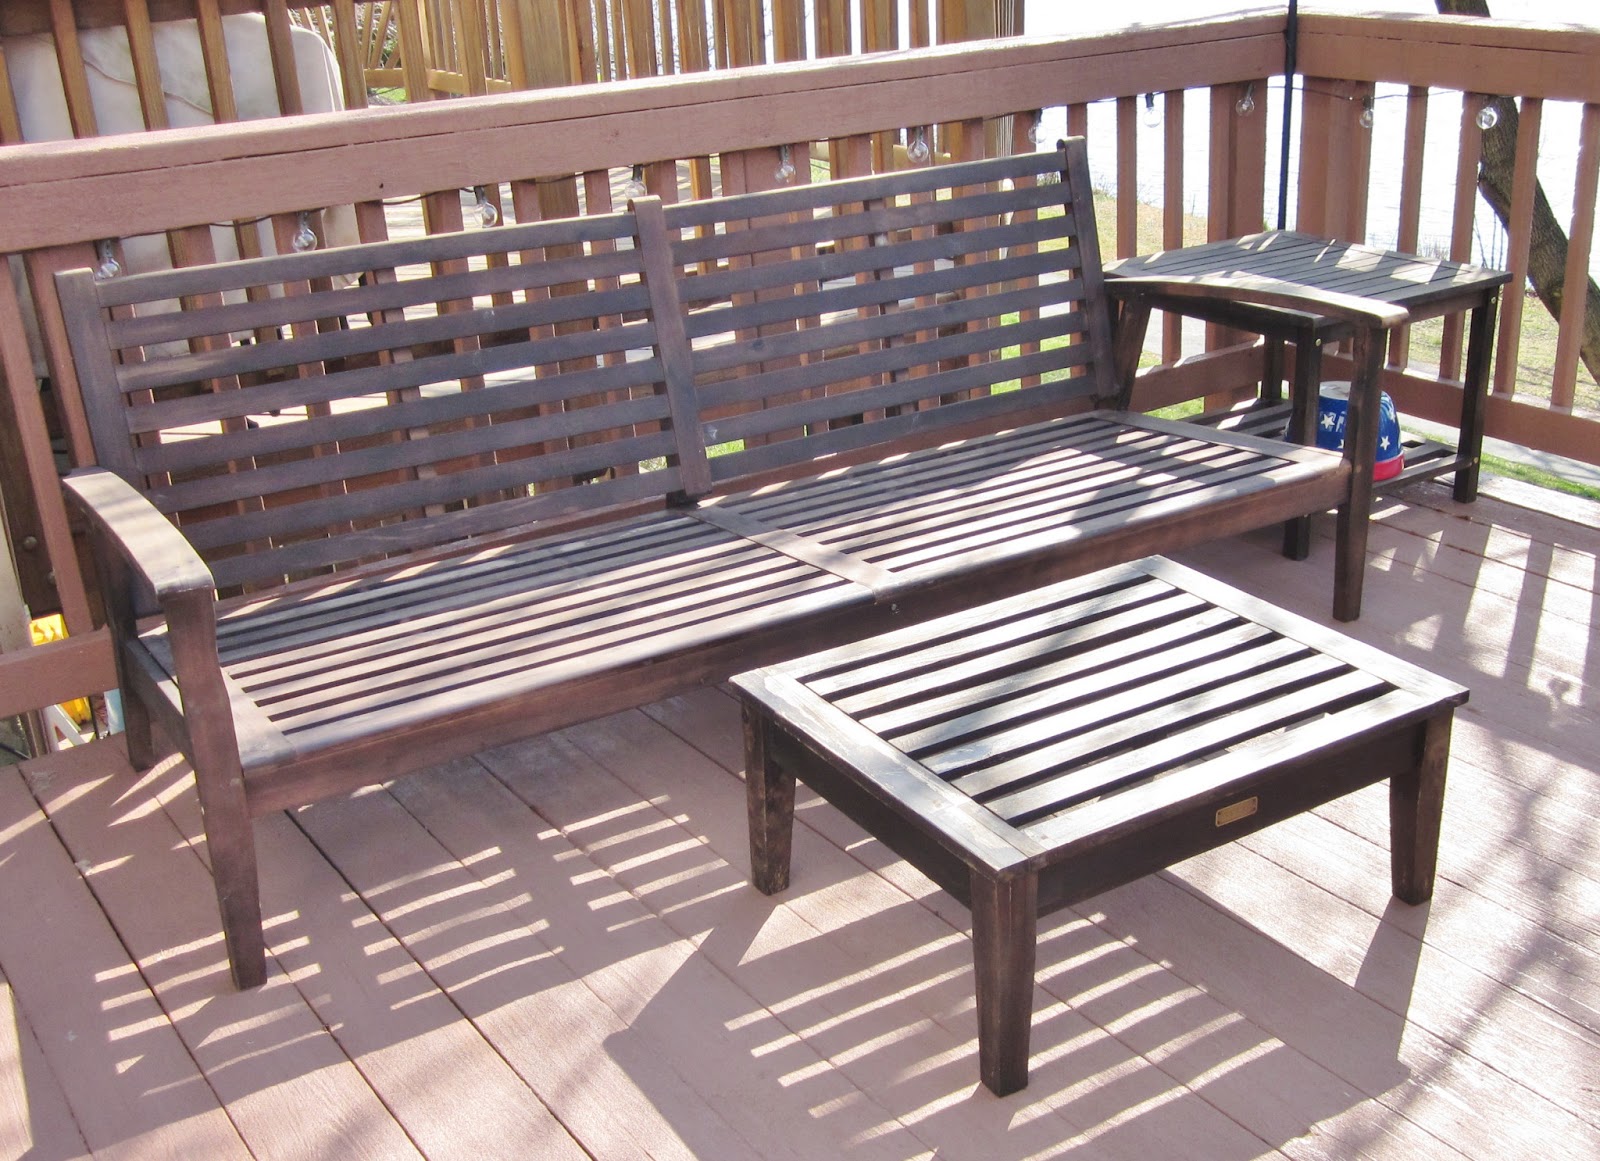
Our patio furniture, not so much.  I'm sorry to report that the set we bought from Improvements last fall is looking rough a mere 8 months later.  You get what you pay for?


In any case, at least it's solid wood, so it can be refinished without too much trouble.

I'd never refinished anything with stain before, so I started at Sherwin Williams - with my footstool in hand (yes, I'm sure they talk about me after I leave).  As always, their employees were excellent, and they set me up with everything I needed!  Did you know there are special brushes that carry and transfer stain better than the usual kind?

I decided to use an opaque stain.  I could get the dark color I wanted, and it would provide the best protection.  I got the darkest color available, called shagbark (weird name).

I started by sanding everything down so it was nice and smooth - this would allow the stain to adhere better, plus get all the surface junk off.  I've had my palm sander for so long that I don't even remember why I first bought it, but it was a lifesaver for this project.  Even with power tools, the sanding took about two hours.


I got a little silly, and used the leaf blower to get all the dust off after I was done sanding.  So now in addition to the guys at Sherwin Williams, my neighbors also think I'm crazy!  But hey, it worked!

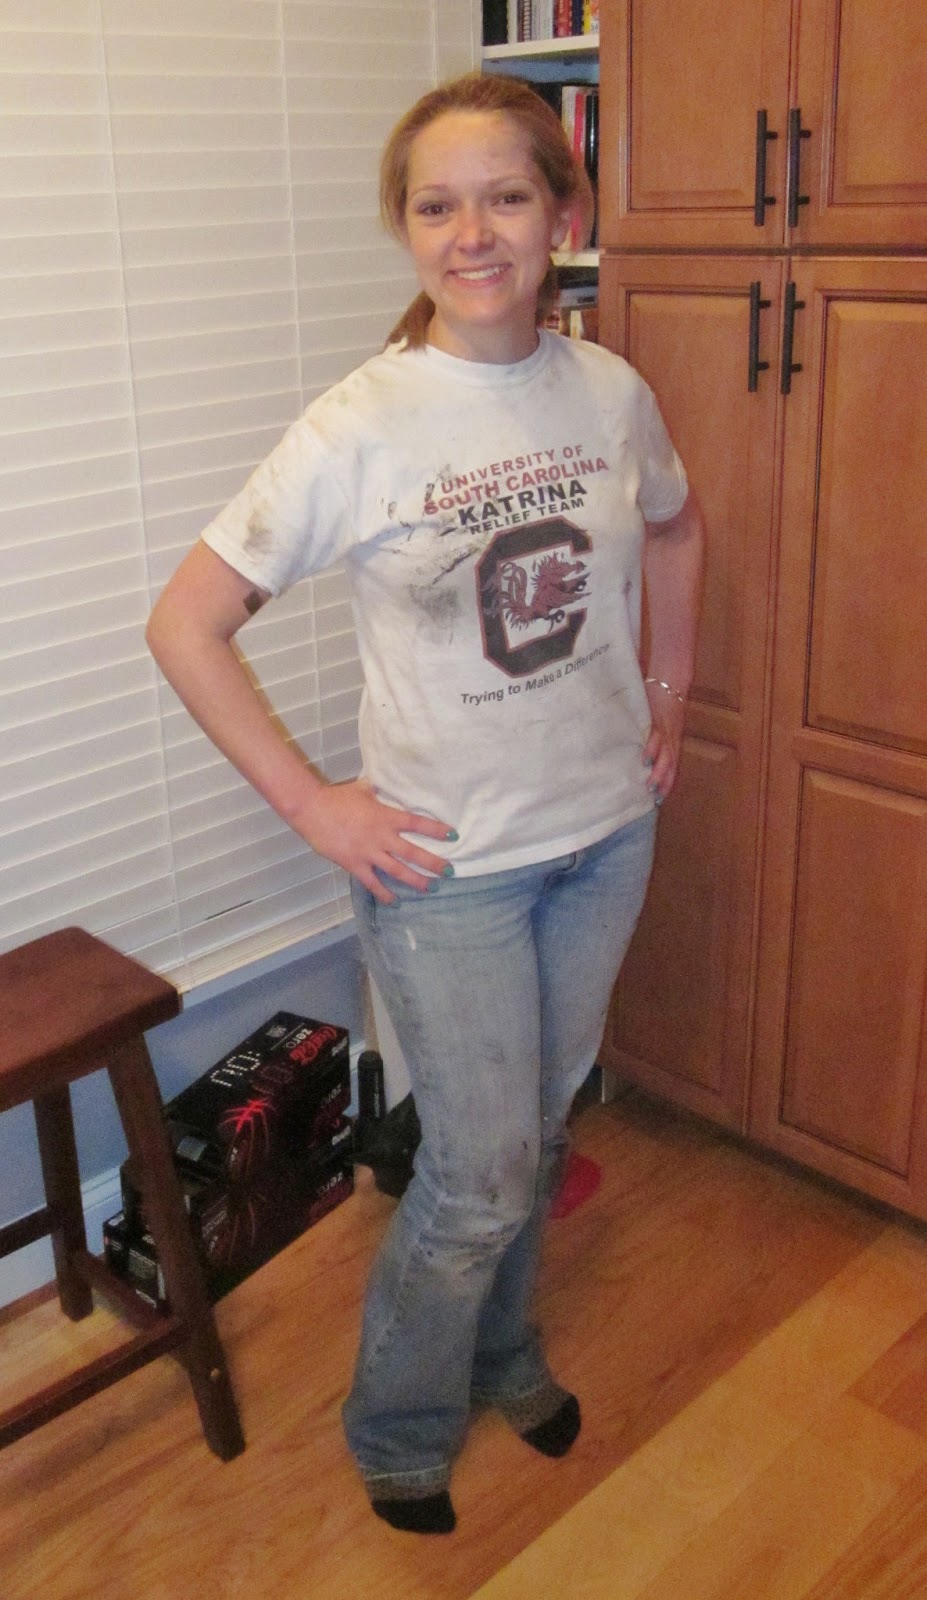
I applied one thick coat of stain to all the surfaces of the furniture.  It went on really easily with my fancy new stain brush.  Apparently it went onto more than just the furniture, because when Tommy got home he didn't want a hug from me.  With my hair full of sawdust and my face and clothes covered in stain, I don't see why not!


I managed to get the last bit stained just as the sun set.  I let everything dry for the next day and a half.


It all looked so much better!  I pulled the cushions out of the basement, and we were ready for spring!  I rewarded myself by reading DIY magazine with Lucky dog for the rest of the afternoon.


It took about five hours and $20, but the furniture looks great, and will have a much longer (and prettier) life.  Sure beats buying new stuff again.


Wednesday, April 10, 2013

Wedding Wednesday: American Girl Doll Flower Girl Dresses

My Mom is back again this week with another above-and-beyond wedding project!


I had so much fun making the flower  girl dresses for Bonnie’s wedding.  Her cousins all adore their American Girl dolls, and I had some leftover fabric, so I thought it would be cute to make matching dresses for their American Girl Dolls.

I used Kwik Sew Pattern 2921 for 18” dolls and the same fabric I made the flower girl dresses out of.  I also found some co-coordinating ribbon for the sashes.


To enable them to role-play being a flower girl, I found some tiny baskets at World Market.  JoAnn’s had tiny white sandals, so the ensemble was just like what they’d have on wedding day!


I figured they could practice being a flower girl with their dolls, and the older girls might even want to write a story about being in a wedding in Charleston!

I had so much fun making these that I also made red, white and blue dresses for them to wear at the 4th of July Low country boil!


Using ribbons, tiny buttons, etc. pays off and really adds to the whole miniature effect.  I try to make them easy for the girls to use with Velcro down the back, and I finish the seams so the clothes are machine washable.


Pretty Darn Cute if I say so myself!


Well, the girls loved them and the dolls even came to the rehearsal!  Thanks Mom!


Thursday, April 4, 2013

Stencil a Wall for Under $5


Stenciling seems to be quite popular these days!  As I've been redesigning my craft room closet, I just couldn't settle for white walls - they're not fun enough for my creative space.

I thought about painting the closet pink, painting stripes, painting chevron, all sorts of things.  Finally I decided to stencil giant flowers in it!

I googled around and found a few promising stencils, but at $25-$40 not including shipping, they were a little steep for a closet project.  Time to get creative!

If my Silhouette Cameo machine is good for making silhouettes, why not stencils?  I found some heavy plastic folders that I imagined would have a similar texture to stencils.  Combine the two, and ta da!

I rendered my image using the Silhouette software, and cut the folder using a #8 setting.  It took forever, but it came out pretty nice!  There were a few hangnails on it, so I smoothed them out by melting them (quickly brushing a flame over them).


I sprayed a repositionable adhesive on the back so it would make a good connection on the wall.

After positioning the stencil, I loaded a small foam roller with a dab of craft paint and rolled it gently over the stencil.


I carefully removed the stencil, put it in a new location and repeated the steps.  Occasionally I rinsed the stencil and applied a new coat of adhesive.


After a while the stencil got too gunked up with glue, so I made a second one to start fresh.  If anyone has tips for getting adhesive off plastic, please share!

If you're particular about the edges of your image, I wouldn't suggest stenciling.  Most of mine bled a little bit, and some a lot.  I touched up any big issues with white wall paint, and I'm pretty happy with the results!  Where the paint bled looks kind of like batik fabric to me - perfect for my craft room.


All in all, stenciling the closet with chrysanthemums was pretty darn easy!  Free folders, $2 for two colors of acrylic craft paint, and a few hours of work.  I already had the foam roller and the Silhouette, which would obviously add cost to your project.  But you could use an exacto knife instead.

I'm happy I didn't stick with plain white walls.  The flowers are so fun!


Wednesday, April 3, 2013

Wedding Wednesday: Flower Girl Dresses

Because my Mom made the dresses, she's here to share her story!  Take it away, Mom!

Bonnie and Tommy asked all of their under-10 cousins to be in the wedding!  It could have been many more if they all had come, but in the end they had three flower girls and one ring bearer, two from our side and two from Tommy's.  The girls were 7, 9, and 10 years old, so going into it, we knew the dresses couldn't be an adorable puffball like the toddlers wear.

Bonnie attended the Priscilla of Boston going out of business sale, and saw a darling flower girl dress. It was perfect: cotton, "Bonnie Pink", summery, and only $25. (Originally $250, holy cow)  Sorry for the crummy iPhone photos!


She called me, “Mom, they have a size 6, should I get it?” I said, "Sure, it's bound to fit one of them!"   She sent me a photo and we knew I could copy it.  Sure enough, the dress fit Ashley, the youngest, perfectly!  

I thought the older flower girls should have a slightly different silhouette.  I found a pattern that was sleeveless with round neck line like the inspiration dress, but had princess seams under the bust instead of pleats. I cut a bias band for the high waist (just like the store bought dress) and we did the fittings on my visits to Virginia and Alabama.  

I found a Kona Cotton by Robert Kaufman in “Melon” and ordered a bolt - it was a perfect match!

I love to fully line the bodices, instead of cutting facings. They are easier to sew and feel better inside.

When Bonnie first asked them to be flower girls, the blonde ones weren't excited.  After asking more questions, we found out it was because they were dreading "scratchy dresses"!  These were all-cotton with no fluff underneath, so we assured them the dresses would not be scratchy.  Smiles all around.

Coral ruffled flower girl dresses (the handmade are the left two, and the storebought is on the right)
To mimic the ruffled trim, I cut miles of strips and narrow hemmed each side using the narrow hem foot on my sewing machine. Usually that foot is a nuisance to use, but on a straight line it works great. Once the dresses were hemmed, I drew a template on paper to line up the swoops of ruffles. I marked straight on the dress with chalk and gathered on the ruffles right on top of my chalk line. 


I covered tiny buttons with matching fabric. I always use the sort that you press into a rubber mold, they're way easier than the kind with little teeth on the back.   

We decided to skip the bows on the older girl’s dresses to give them a slightly more mature look.

Priscilla inspiration dress

handmade flower girl dress
We asked the girls to get any white sandals they wanted to wear with the dress.  That way, they were easy to find and wearable for other occasions.

Bonnie made personalized necklaces for them.  We used extra fabric for the basket liners and matching hair flowers. 


They all looked darling as they tossed petals down the aisle.  Thank you girls!  And thank you, Mom, for another amazing wedding project!!!


Tuesday, April 2, 2013

Bridesmaid Dress Refashion


Not only did I get to play florist for my sister-in-law's wedding, I also got to be a bridesmaid!  I was honored to stand by her side on such a special day.  It was also fun walking down the aisle with my husband again!

Second time down the aisle in 2012!
She was gracious in her selection of bridesmaid dresses (Watters Camellia Style 2255).  Navy looked great on all of us, and it doesn't scream BRIDESMAID like some colors can.  Rather than taffeta or chiffon which are very bridesmaidy fabrics, it was made from a pretty lace.  The open-back detailing was gorgeous!

I'm on the left!
That said, above-the-knee hemlines don't jive my with those American thighs I inherited.  Also, flared skirts don't do good things to people who are petite and short-waisted.  So while the dress had a lot going for it, I knew a few post-wedding changes would make it amazing.

My Mom did the original alterations for me.  She confided in me that this dress required more difficult alterations than any dress she's ever done.  Coming from a seamstress who has been doing weddings and costumes for 30-something years, that is a serious comment.  Watters, you need to work on your patterns!!!  Those dresses are only gorgeous if they can be altered properly.

The alterations issues were mostly due to two things.  First, in some seams, the lining and lace were sewn together, but in other seams they weren't.  So you couldn't just separate the dress into lining and lace, the whole thing had to be dismantled.  Second, the lace had some "give" to it but the lining did not, so you couldn't just take up two inches of both - more of the lace had to be taken in.

But my Mom is pretty much amazing, and she altered the crap out of the dress.  It fit like a glove on wedding day!


When she hemmed the skirt to match the other girls, rather than cutting inches off the bottom (which would have ruined the scalloped hem), she took the inches off the top.  She left the extra material inside the dress, with the knowledge we'd be lengthening the skirt at some point.

To re-alter the dress, she started by removing the skirt and all the tucks included in it.  She then laid a pattern for a longer, fitted skirt on top, and cut the new pieces.  She sewed everything back together, and ta da!  Awesome dress I can wear all the time.


I wore the dress last week when I took Tommy out for his birthday.  I love that it's fancy, but not formal, so I can wear it to dates, weddings, or fancy-pants events like the symphony.

Thanks to my sister-in-law for her thoughtful decisions.  And thanks to my Mom for her amazing work!  I love it!